
APDIS MV430 Laser Radar
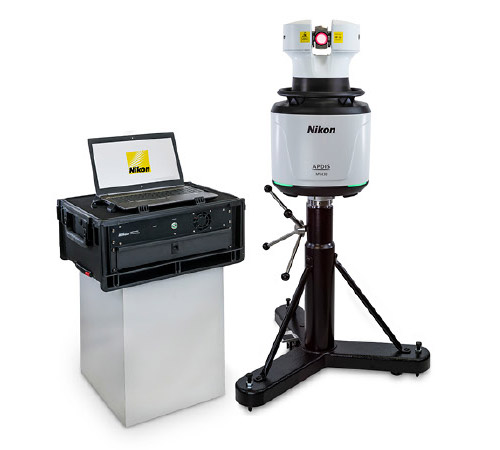 APDIS is the new generation of the Nikon Laser Radar. It introduces a new design with new benefits, whilst maintaining the inherent features that make the Laser Radar a truly unique metrology system.
The MV430 and MV450 measurement systems are used for fast, automated and non-contact inspection of objects ranging from smaller components such as a car door to complete large assemblies such as commercial aircraft. It achieves this through a unique application of a non-contact, accurate laser based measurement technology overcoming the limitations of traditional monolithic or portable metrology systems.
The ability to measure detail at distance, without the need for handheld probes, targets or surface preparation means APDIS is ideally suited for repetitive, complex, hard to reach, delicate and labor intensive inspection tasks, covering a huge range of manufacturing, industry and research applications.
Product overview
The APDIS Laser Radar provides automated precision measurements over a long range with a large standoff for the most flexible and productive Laser Radar system ever produced
- Automated and repeatable to reduce skilled labor and improve process control
- Fast and precise measurements to keep data sets small and productivity high
- Long range and non-contact to maintain both part and operator safety
New Benefits
APDIS builds on the existing advantages of the Laser Radar to provide enhanced productivity, improved usability and proven reliability.
- Up to 2 x Faster measurements with Enhanced Feature Scan
- Easier handling with a 25% smaller and 40% lighter design
- Closer measurements with 0.5m minimum range
- Better shop floor protection with IP54 rating
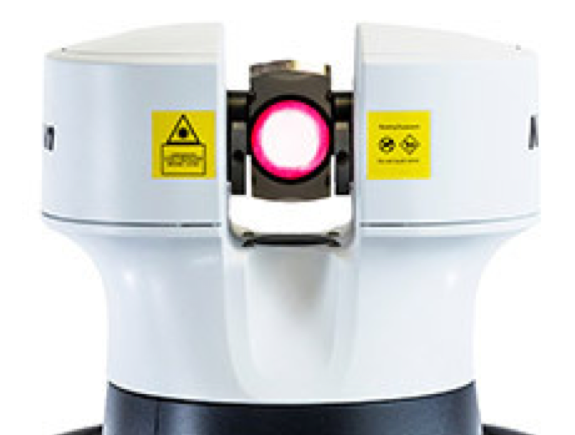
- Clearer view of measurements with Nikon optics and HD camera
- Faster setup with faster warmup time of as little as 15 minutes
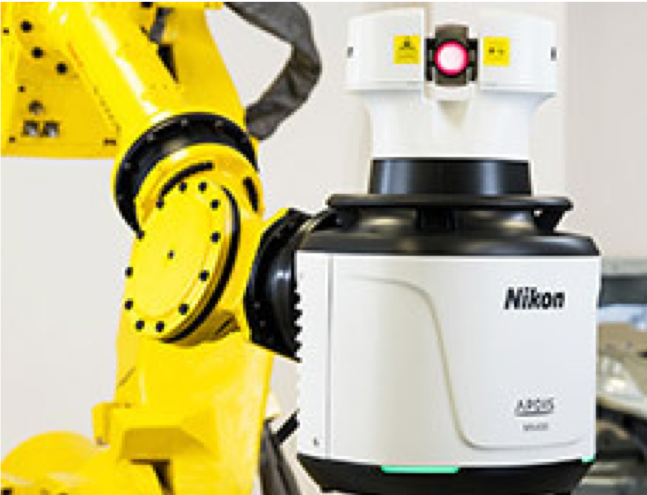
- Easy robot installations with Automatic Orientation Compensation (AOC)
- Instant feedback of status with external indicator LEDs
- Vibration analysis of environment and equipment with new surface vibration measurement capability of up to 2000Hz
| MV430 | MV450 | MV430E | MV450E | |
| Range | 0.5m to 30 m | 0.5m to 50 m | 0.5m to 30 m | 0.5m to 50 m |
| Data Rate | 4000Hz | |||
| Scanning Speed* | 500pts/sec 2 sec/cm2 |
1000pts/sec 1 sec/cm2 |
||
| Feature Measurement | Standard Feature Scan | Enhanced Feature Scan** | ||
| Vibration Measurement | n/a | 2000Hz Max ; 1µm/m sensitivity | ||
| Environmental | IP54 | |||
Measure Parts in Situ at High Accuracy
Portable and shop floor suitable, with a large measurement volume allows absolute and accurate measurements of parts in the production line. Portable and mobile configurations allow for deployment flexibility, whilst a specific integration configuration is ideal for fully automated solutions.
- Measure up to 50m radius
- IP54 rated for shop floor installations
- Typical accuracy of 29µm @ 2m
- Surface or feature measurements
- Portable, mobile and integration configurations
- Large working temperature range
Measure More for Improved Productivity
A precision laser beam allows for fast feature measurements with minimal data sets. The Enhanced variant offers up to double the measurement speed versus the standard version further improving productivity versus traditional metrology equipment.
- Enhanced Feature Scan
- Precision feature measurements
- 8 x faster than traditional monolithic devices
Measure Almost any Surface with No Part Preparation
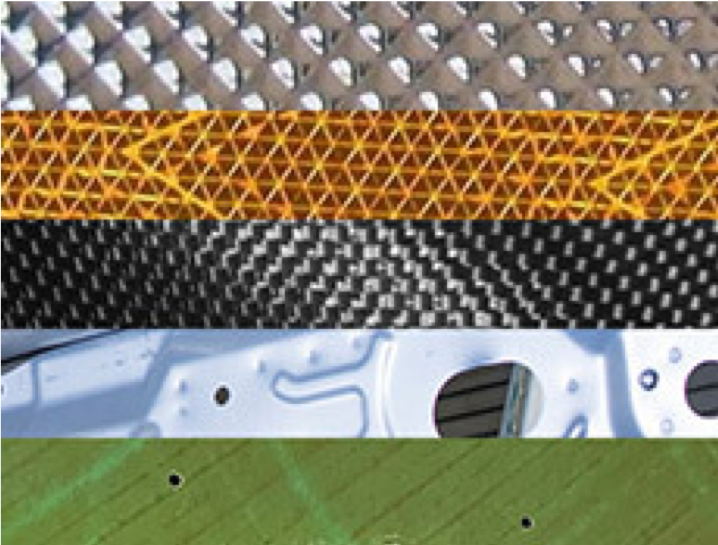
Utilising Heterodyne Interferometry allows the Laser Radar to measure almost any surface without the need for part preparation, targets or feature adapters. Coupled with an improved warm up time, this means fast setup with no part interaction required. The large standoff also means that potential damage to the part, or operator, is minimized.
- Heterodyne interferometry
- No targets, no adapters, no probes
- Fast warm up (15 minutes)
- Large standoff
Measure Fully Automatically for Consistent Results
The ability of APDIS to run fully automated measurements reduces the labor requirements whilst maintaining consistency and repeatability independent of the operator.
- Non-contact automated measurements
- Single or zero user operation
- Deskill complex metrology inspections
CLICK FOR VIDEO DEMO
